IDE Extensions (VS Code, Cursor, Claude, Windsurf & Antigravity)
Emuluxe brings the hardware foundry directly into your coding environment. Our extensions are designed to eliminate context switching by providing a real-time, high-fidelity mobile preview alongside your source code.
Supported Editors & Installation
We provide rich native integrations across the major modern IDE ecosystems.
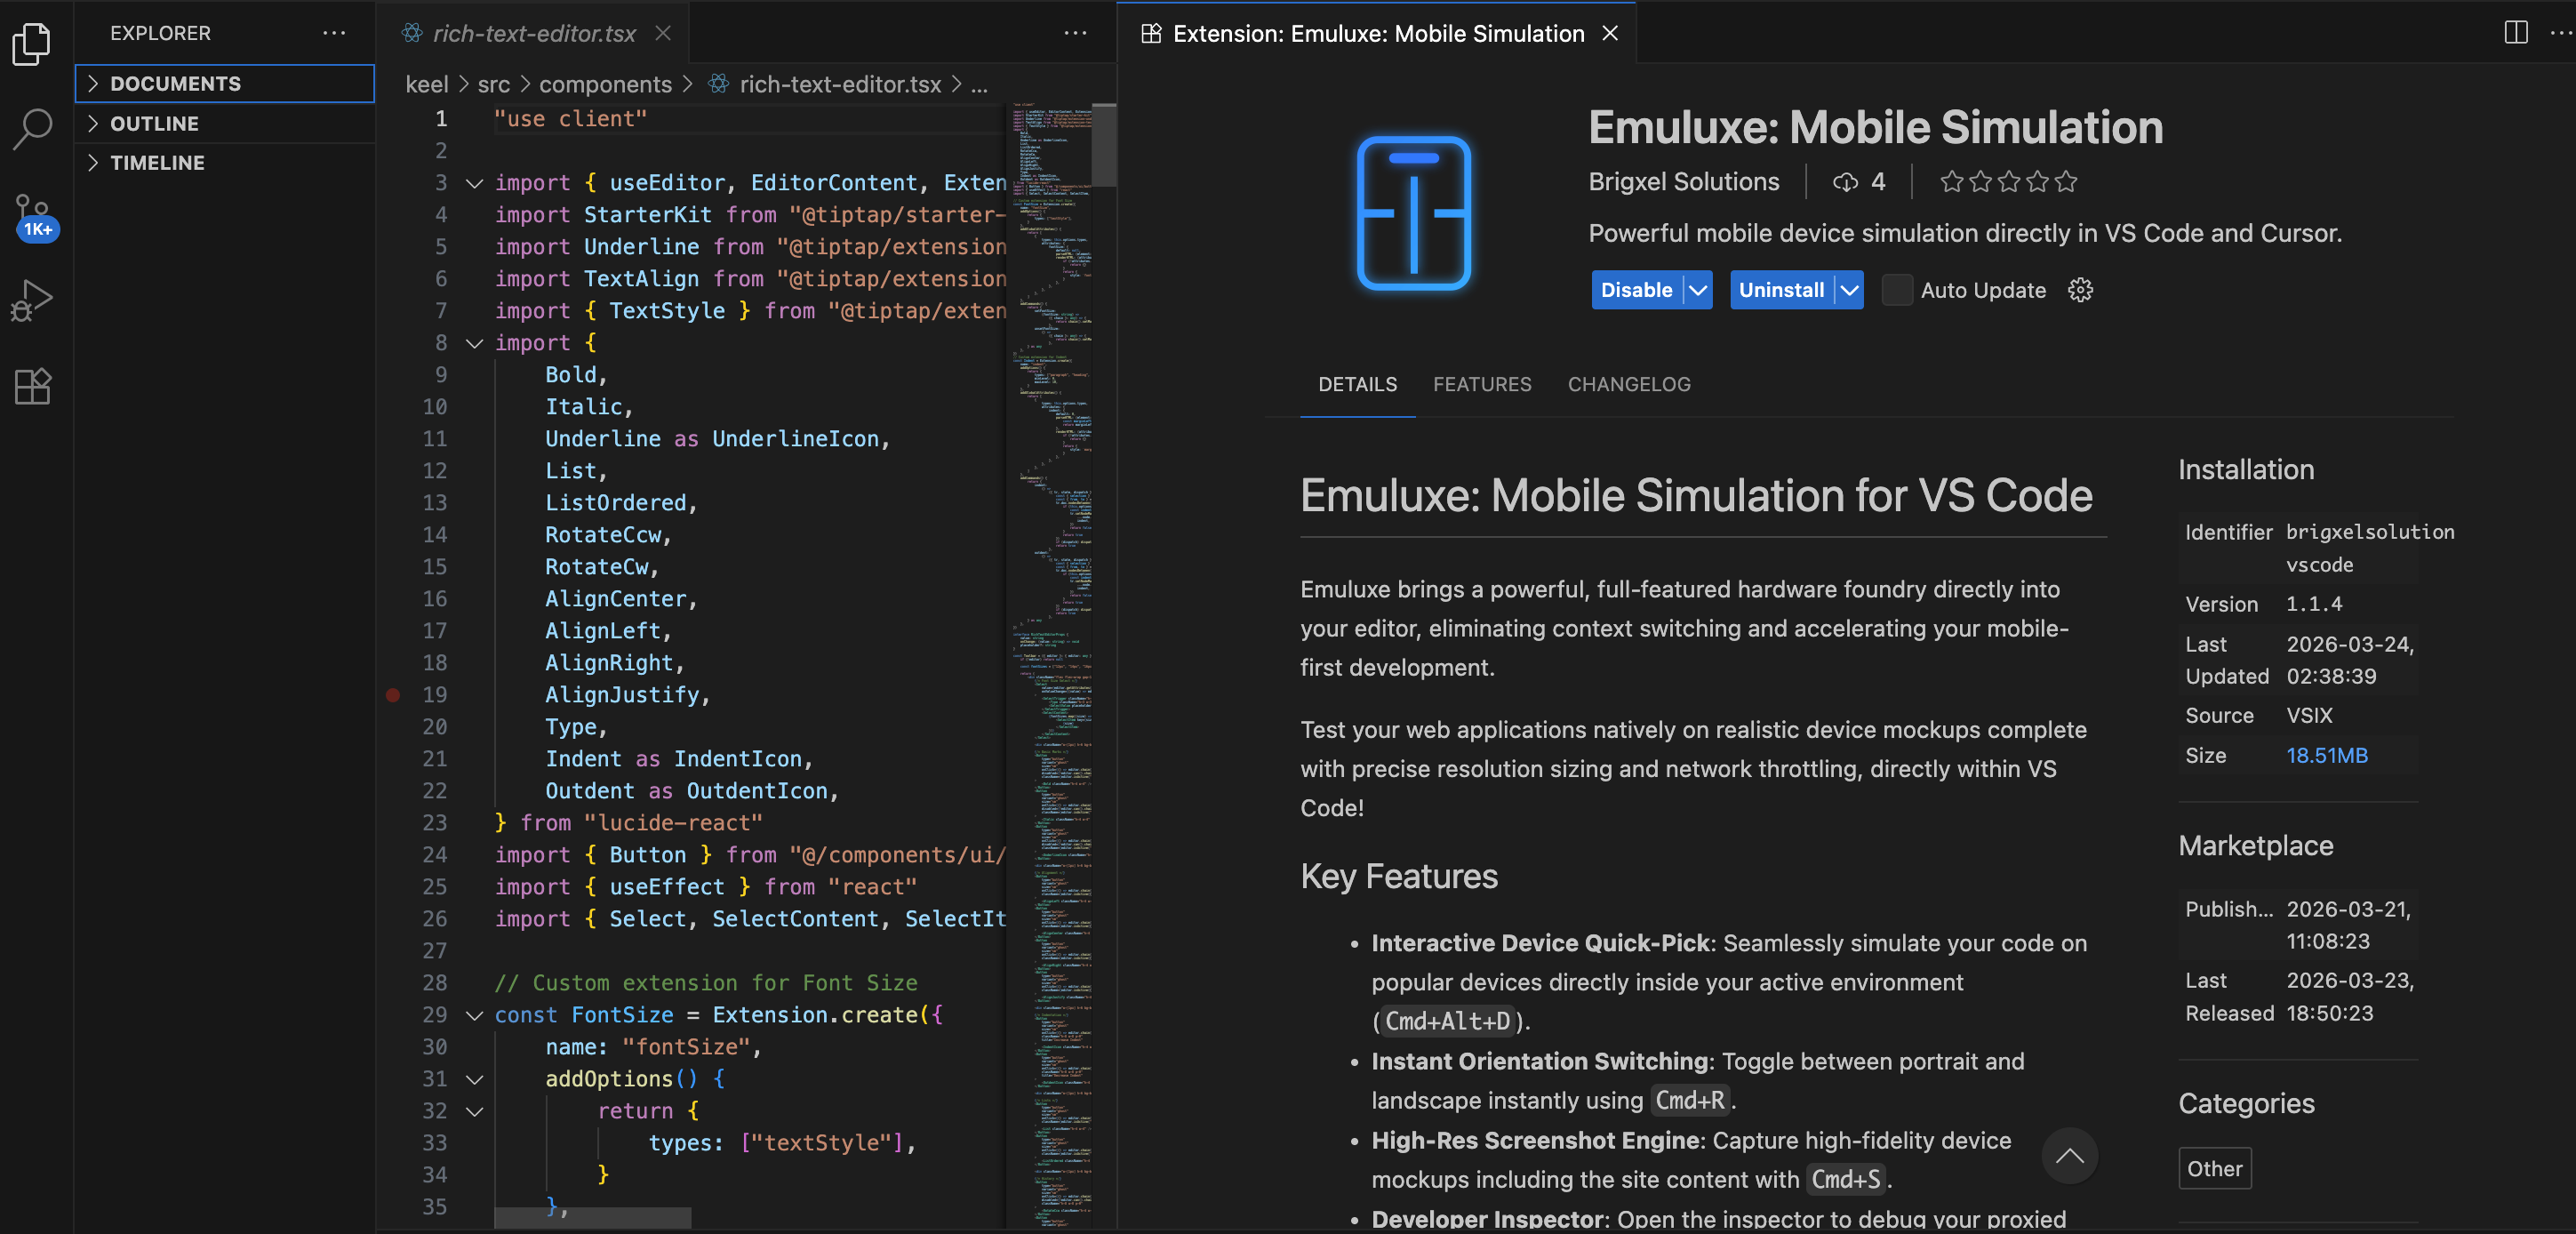
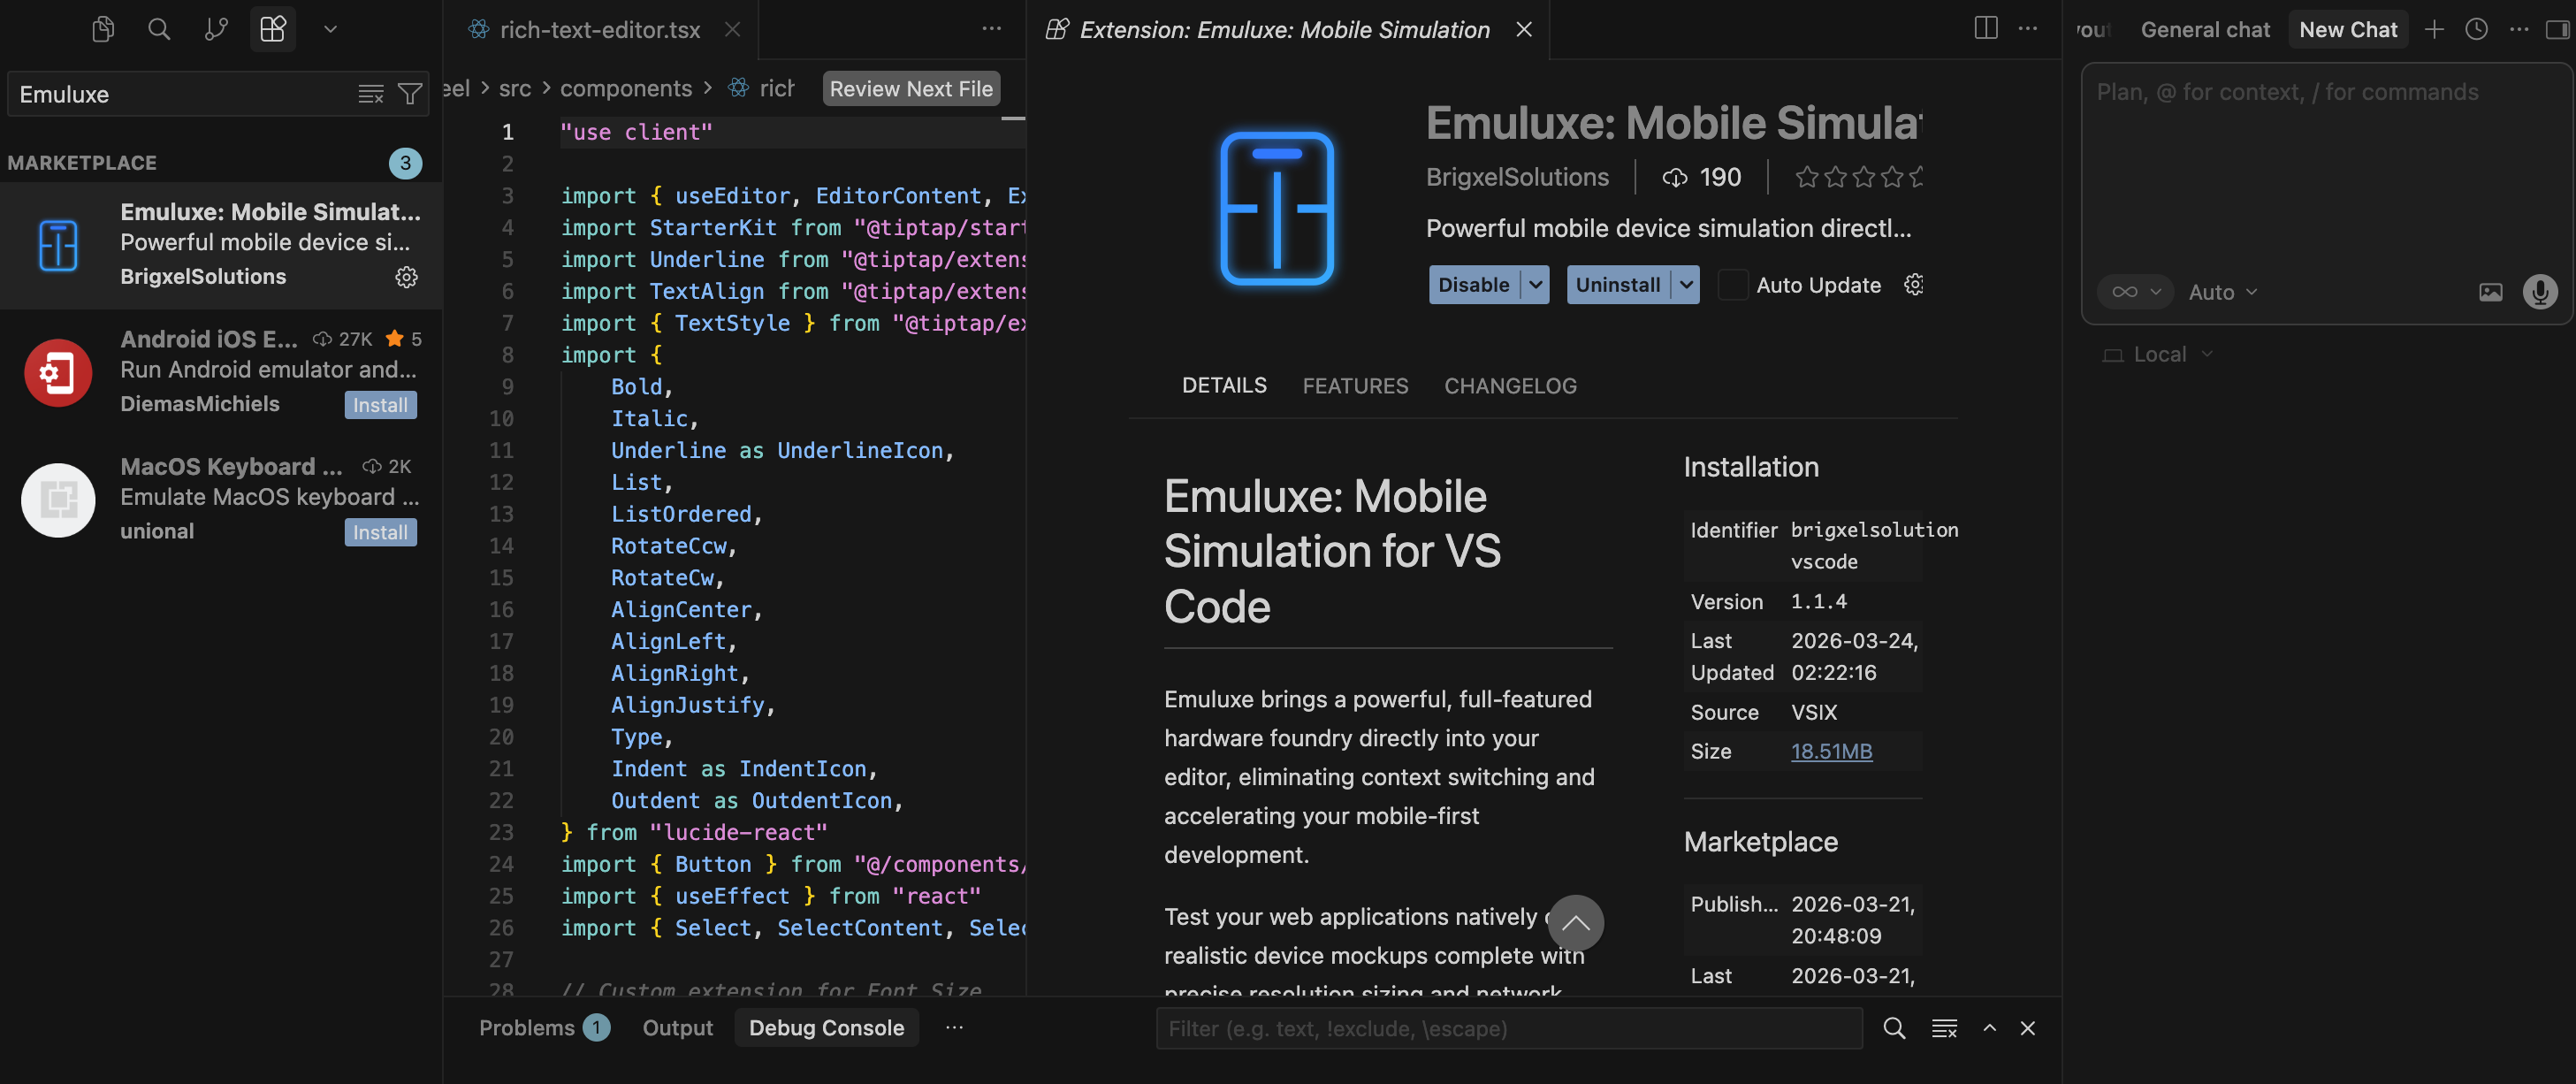
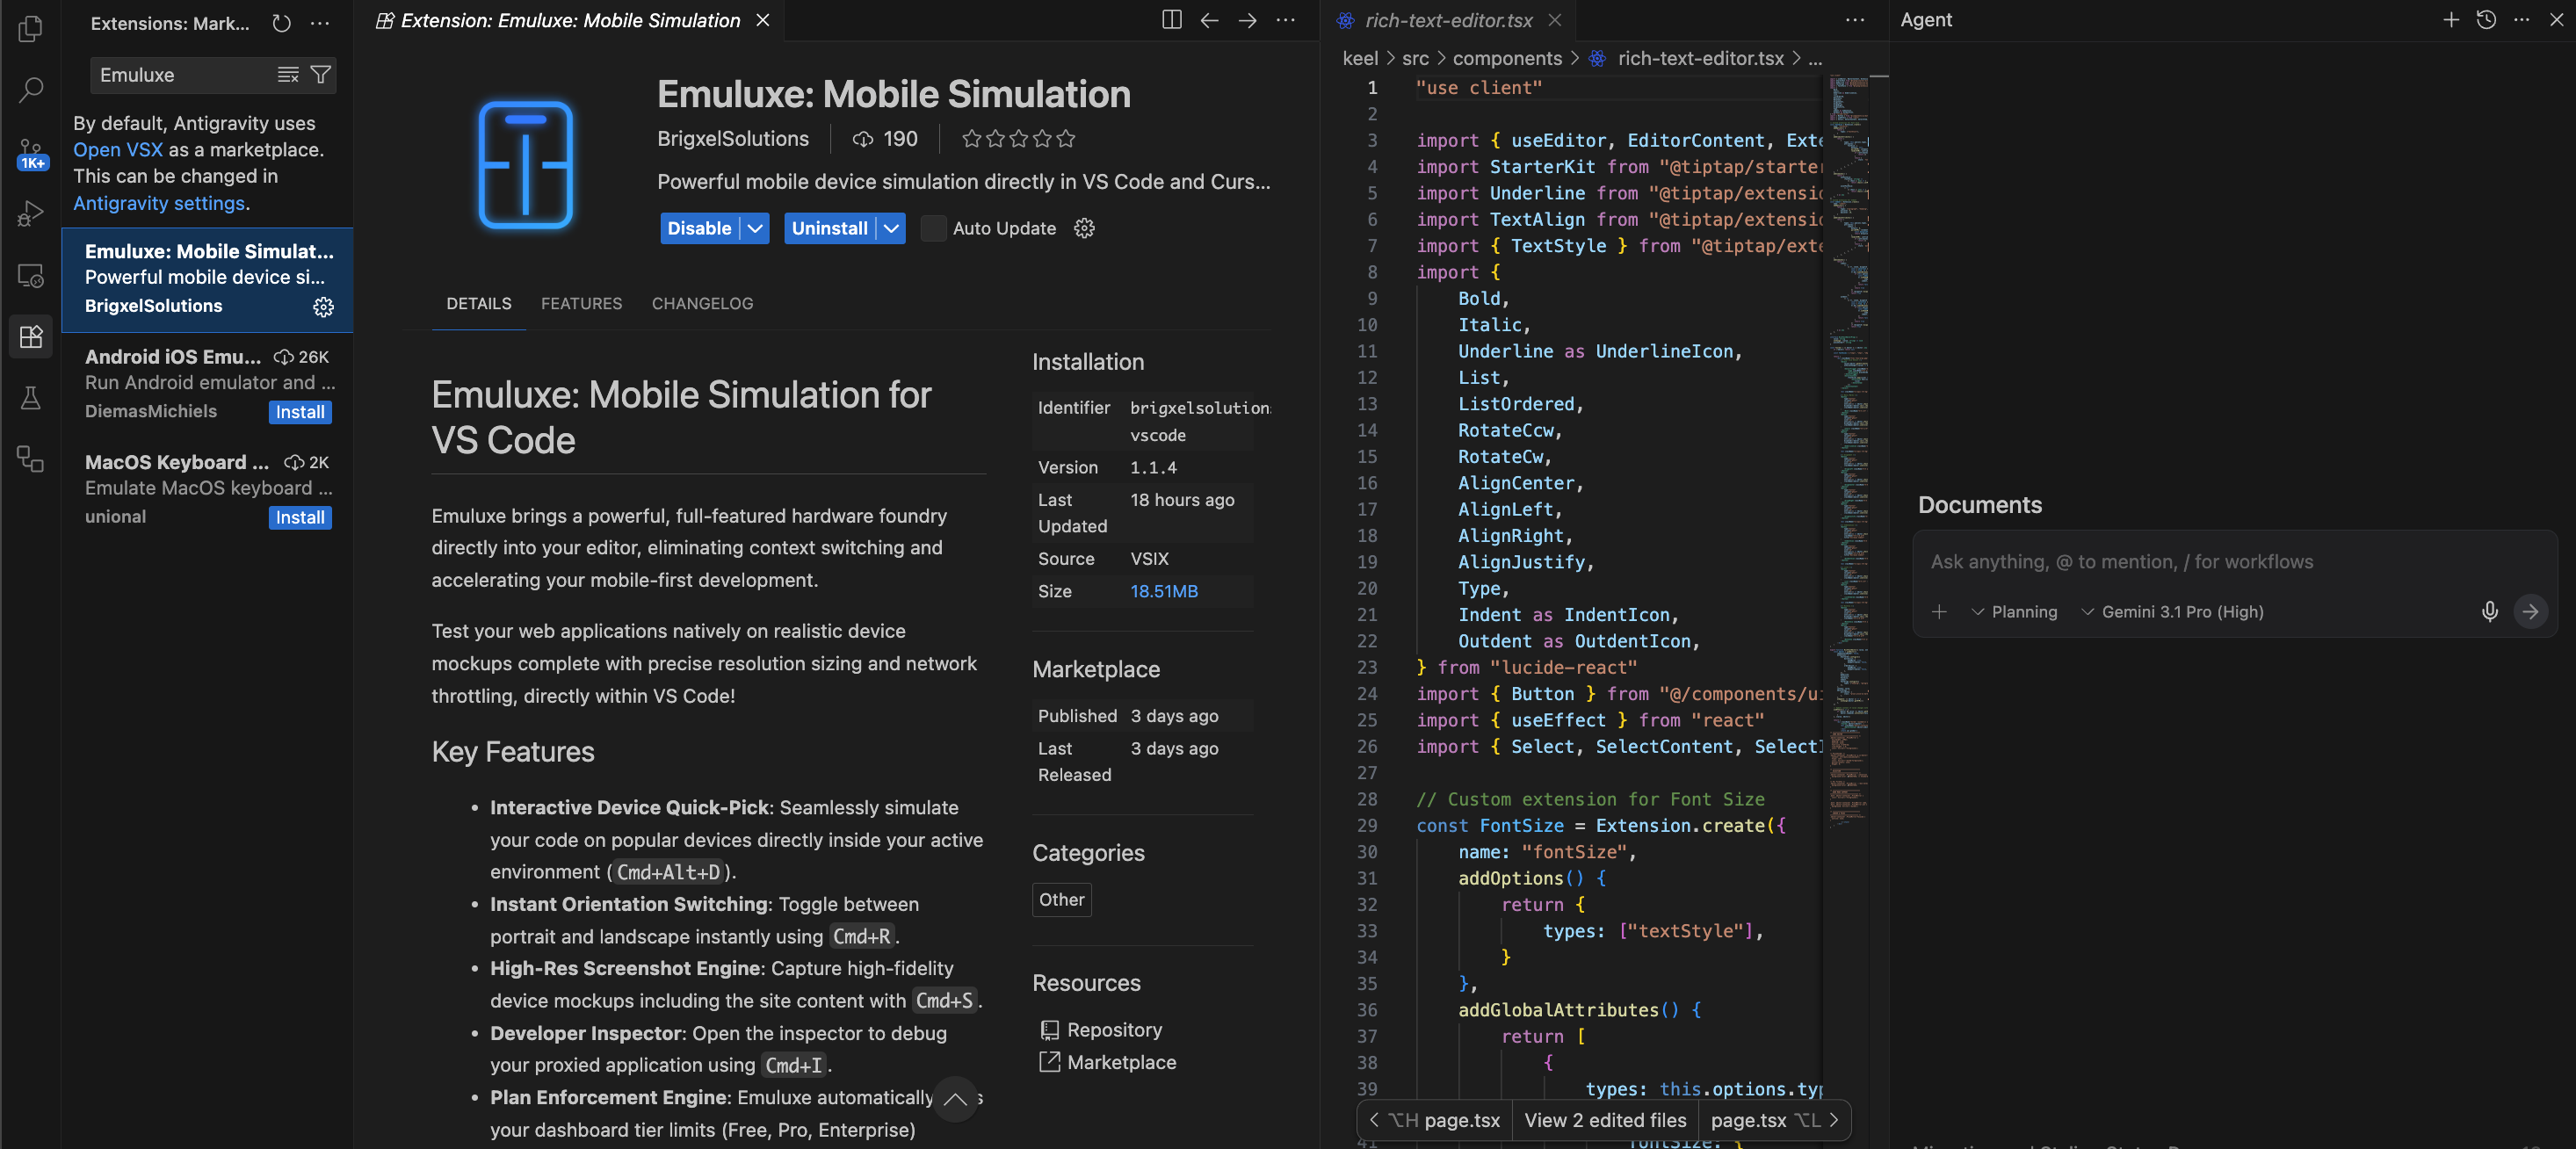
1. VS Code
The native extension integrates the Foundry panel into an editor tab, giving you deep DOM mapping and side-by-side simulation.
Installation:
- Open VS Code and navigate to the Extensions view (
Cmd+Shift+Xon Mac,Ctrl+Shift+Xon Windows). - Search for Emuluxe.
- Click Install.
- Alternatively, install from the VS Code Marketplace.
2. Cursor
Full support for Cursor's AI-native architecture. Emuluxe provides hardware-aware context to the Cursor assistant, allowing it to "see" your site through the lens of specific device geometries.
Installation:
- Open Cursor and navigate to the Extensions view.
- Search for Emuluxe.
- Click Install.
- Alternatively, view the listing on the Cursor Directory.
4. Claude
Full support for Claude Desktop and Claude Code CLI. Emuluxe provides plan-aware routing, automatically detecting your environment to provide the best simulation experience.
Installation:
- Log in to the Emuluxe dashboard and navigate to Settings → Integrations.
- Under Claude Desktop, click "Add MCP Server".
- Follow the instructions to add the Emuluxe MCP server to your
claude_desktop_config.json. - Alternatively, use the Claude Code CLI command provided in the dashboard.
5. Antigravity
The ultimate AI pair-programming integration. Emuluxe provides the Antigravity agent with direct access to hardware fingerprints, allowing the agent to verify its own code changes against 80+ simulated devices in real-time.
Installation:
- Open Antigravity and navigate to the Extensions view.
- Search for Emuluxe.
- Click Install.
- Alternatively, install from the Open VSX Registry.
6. Windsurf
Native VS Code extension support in Windsurf IDE. Emuluxe integrates with Windsurf's Cascade AI system for agentic development workflows.
Installation:
- Log in to the Emuluxe dashboard and navigate to Settings → Integrations.
- Under Windsurf, click "Add MCP Server".
- Follow the instructions to add the Emuluxe server to your
mcp_config.json. - Click the MCP Servers (hammer) icon in Windsurf and click Refresh.
Global Setup & Commands
Once installed in your IDE of choice:
Option 1: Manual Login
- Open the Command Palette (
Cmd+Shift+PorCtrl+Shift+P). - Run
Emuluxe: Loginto securely link your IDE to your Emuluxe account.
Option 2: One-Click Sync (Recommended)
- Navigate to your Integrations Settings in the Emuluxe dashboard.
- Click the Sync / Login button for your IDE (VS Code, Cursor, Claude, Windsurf, or Antigravity).
- The extension will authenticate automatically.
Once authenticated, use Cmd+Alt+E to toggle the simulator panel instantly.
Advanced Simulation in your IDE
Unlike standard "responsive" views or browser window resizing, the Emuluxe IDE extension is powered by our Advanced Simulation Engine. This ensures that the code you write is tested against the same high-fidelity hardware profiles used in the Emuluxe Web Platform.
The Advanced Simulation Edge:
- System Syncing: Atomic synchronization between IDE and CLI.
- Hardware Fidelity: Real-time rendering of Notches, Dynamic Islands, and software Home Indicators.
- Kernel-Level Spoofing: Bypassing client-side detection by spoofing GPU renderers, memory counts, and sensor data.
- Biometric Mocking: Trigger simulated FaceID/TouchID prompts directly from within the editor.
- Parallel Grids: Preview your local changes across multiple device silhouettes simultaneously.
[!IMPORTANT] Advanced Simulation features require a Pro or Enterprise plan. Basic viewport resizing is available for all users.
Technical Features
- Hot-Reload Tunneling: Encrypted local-to-cloud tunnel that pushes your changes instantly to the simulator.
- AI Context Injection: Passes hardware specs (Resolution, Safe Areas, User Agent) directly to the IDE's AI models.
- Biometric Mocking: Trigger simulated FaceID/TouchID prompts from within the editor for WebAuthn testing.
Next, learn how to use the Command Palette.